
By Ariwodo Chiamaka Preciousgift
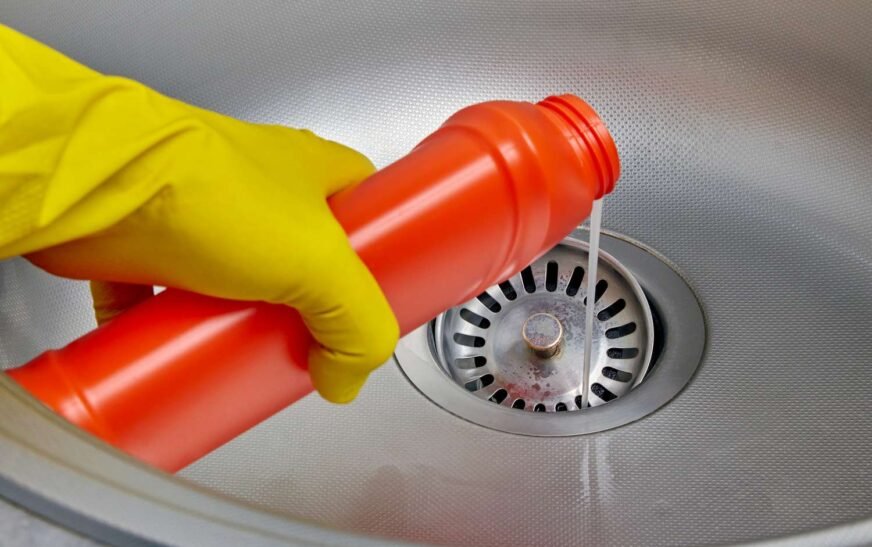
When it comes to pouring things down the drain, most of us have been taught to be careful—after all, no one wants to deal with a clogged sink or a visit from the plumber! But did you know there are actually a few things you should pour down the drain? That’s right—certain items are not only safe but can actually benefit your plumbing and the environment. Here are four things you should always feel good about sending down the pipes.
- Warm Water: The Everyday Hero
It might sound simple, but warm water is your drain’s best friend. After cooking or washing dishes, pouring warm water down the drain helps dissolve any lingering fats, oils, or soap residue that might be hanging around. This can prevent clogs from forming and keep everything flowing smoothly. Make it a habit to end your dishwashing routine with a generous splash of warm water, especially if you’ve been dealing with anything greasy. - Baking Soda and Vinegar: The Dynamic Duo
Remember that fun volcano experiment from school? Well, the same fizzing reaction that made your homemade volcano erupt can also keep your drains in tip-top shape! Baking soda and vinegar are a natural, non-toxic way to clean and deodorize your pipes. Once a week, pour half a cup of baking soda down the drain, followed by half a cup of vinegar. Let the mixture fizz and bubble for a few minutes, then flush with hot water. It’s like a spa day for your drains, helping to break down build-up and eliminate odors. - Salt Water: The Grease Fighter
If you’ve been frying up something delicious in the kitchen, you might be tempted to pour that leftover cooking oil down the drain. But wait! Before you do, pour it into a container for proper disposal (never pour oil straight down the drain—it’s a clog waiting to happen!). Instead, flush your sink with a strong saltwater solution afterward. Mix about 1/2 cup of salt with a quart of hot water and pour it down the drain. The salt helps break down grease and food particles, preventing them from sticking to your pipes. - Coffee Grounds (in Moderation!): The Scrubbing Superstar
Yes, you read that right—coffee grounds can actually be good for your drain, but only in moderation. While it’s true that large amounts of coffee grounds can cause clogs, a small sprinkle down the drain every now and then can act as a gentle scrub for your pipes. The gritty texture helps remove build-up and grime. Just be sure to follow with plenty of water to wash everything through, and don’t make it a daily habit!
Who knew keeping your drains happy could be so simple? By regularly pouring these four things down the drain, you can help prevent clogs, eliminate odors, and keep everything flowing smoothly. So, the next time you’re in the kitchen, go ahead and give your pipes a little TLC. They’ll thank you for it, and you’ll enjoy a hassle-free plumbing experience!
READ ALSO: Ihesiulo Grace Amarachi – CEO of AdaEventsNews Nigeria
Looking to add some personality to your room without breaking the bank? DIY string art is the perfect project to bring a splash of color and creativity to your walls. It’s simple, customizable, and super fun to make. Plus, you only need a few materials to get started. Let’s dive in!
What You’ll Need:
- A Wooden Board: This will be your canvas. You can use any size or shape that fits your space.
- Nails: Small nails work best. Make sure they have a flat head to keep the string in place.
- Hammer: For driving those nails in place.
- String or Embroidery Thread: Choose any color(s) you like. Go for a single color for a sleek look, or mix and match for something more vibrant.
- Paper and Pencil: To sketch out your design.
Step 1: Plan Your Design
First, decide on a shape or word you want to create with your string art. Simple designs like hearts, stars, or words like “Love” or “Home” are great for beginners. Sketch your design on a piece of paper to get an idea of how it will look on your board.
Step 2: Outline Your Design
Once you have your design, place the paper on your wooden board. Use the hammer to lightly tap nails into the board along the outline of your design. Make sure the nails are evenly spaced and secure, but leave about half an inch sticking out of the board.
Step 3: Remove the Paper
Carefully tear away the paper, leaving only the nails in the board. You should now have a nail outline of your design.
Step 4: Start Stringing
Now the fun part! Tie the end of your string to one of the nails. Start wrapping the string around the nails in any pattern you like. You can go in a straight line, crisscross the string, or go in random directions—the more creative, the better! Keep the string tight as you go to ensure a clean look.
Step 5: Finish and Display
Once you’re happy with your design, tie off the end of the string and trim any excess. Step back and admire your handiwork! Your DIY string art is now ready to hang on the wall and bring some handmade charm to your room.
String art is an easy, fun, and affordable way to create custom décor for your space. Whether you’re decorating a bedroom, living room, or office, this project adds a personal touch that’s sure to impress. So grab some string and nails, and get crafting!